In this article, I’m listing the 10 best tips about compression that every producer/engineer should know, even producers that are not that much into mixing.
Knowing these pieces of info allows approaching compression more knowingly.
What is compression?
Compression is a kind of processing aimed to shape the dynamics of an audio signal.
While some might argue that compression does only reduce the dynamic range, it’s all about the time settings and also the type of compression you’re applying.
However, the most common application of compression is actually aimed at making stuff louder and dynamically consistent.
Learn more about Compression
If you want to learn more about how to control compression (and much more), then you might be interested in our Methods and Basics products.
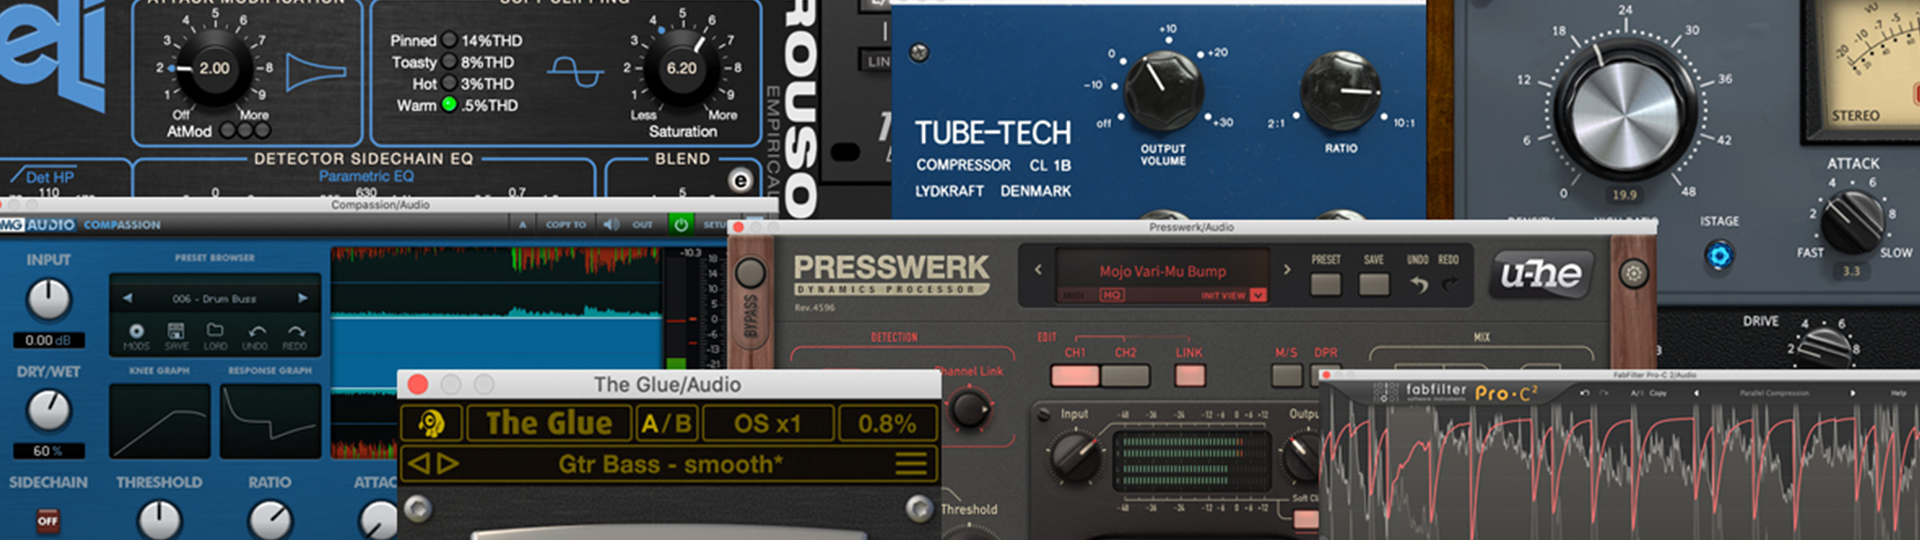
The 10 best compression tips
Now let's go with the tips:
Gain Reduction
First things first, compressing a sound is about dialing a given amount of gain reduction that reacts to the input signal.
Don’t focus on setting the threshold at a specific value only because you’ve read it somewhere.
What you should look at while compressing is how much, how long, and when gain reduction is engaged.
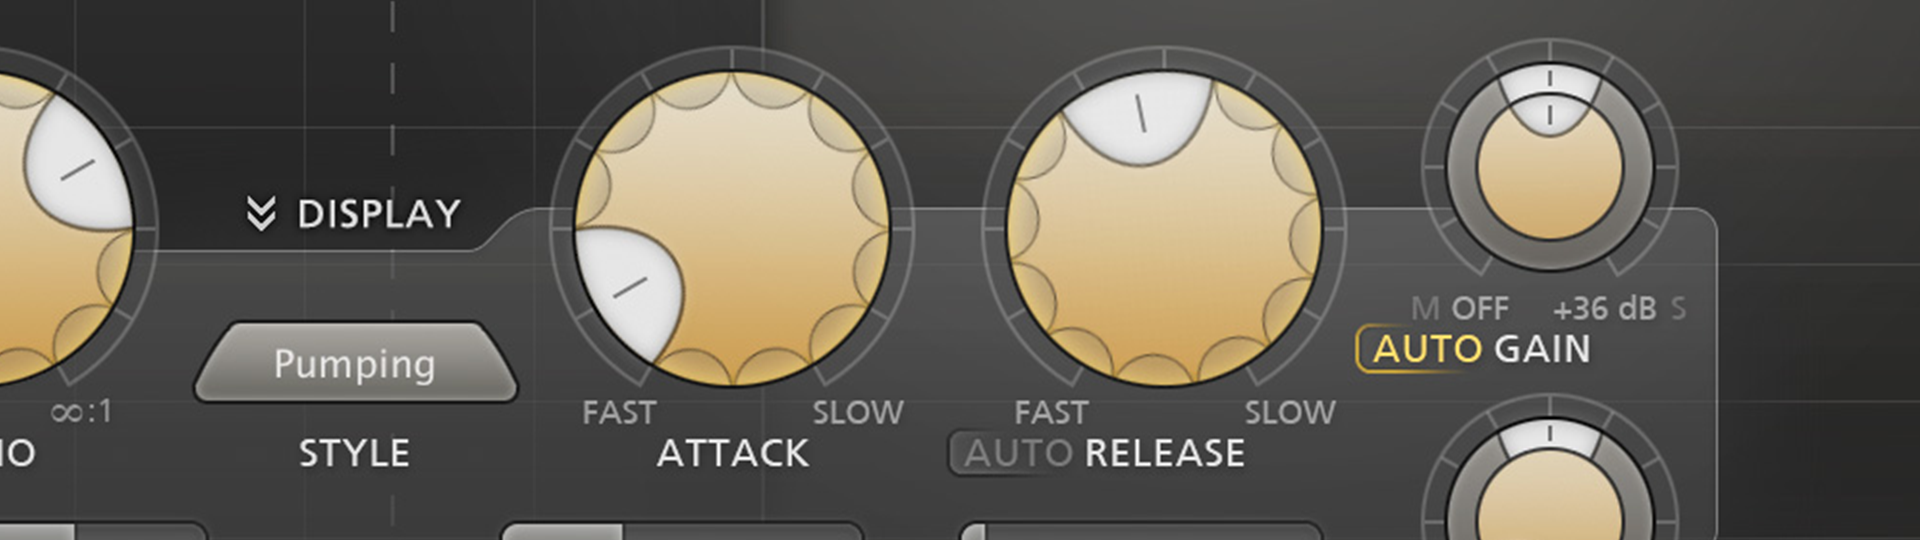
Attack and Release Settings
While values expressed in milliseconds might look like “nothing” to a beginner, they actually make the whole difference in the world for the simple reason that most sounds and details in them develop in the scale of tens or hundreds of milliseconds.
Faster settings are the way for squashing the dynamic range, while slower settings tend to emphasize the transients while lowering the subsequent sustained portion of the input signal.
Bus Compression
One of the not-so-secret ways to achieve a fuller and cohesive mix is to apply compression on dedicated busses.
While individual sounds still might need to be shaped dynamically, multiple sounds belonging to a given group generally benefit from common processing.
You can distribute compression at different stages. For example, you can compress all the guitars together, then you can compress all the instruments (guitars included) together, then you can compress the whole instrumental together (drums and bass included), and final you can compress the whole mix by including the vocals too.
That’s because guitars generally need to sound strong together, but the same goes for the instruments, the instrumental altogether, and finally the whole song.
These stages of compression do help a lot at achieving a mix that sounds like everything actually belongs to the ensemble.
The same is true for all the other subgroups.
The higher you go in the mix hierarchy, the less compression you want to apply for a smooth sound.

Start with one compressor
No need to collect dozens of plugins just because you’ve heard of them.
Pick one and learn it inside out.
Explore all its applications and only then you should move on with other models that have a sound of features that your current compressor is missing.

A/B Testing
To not get lost in all the tweaks, remember to turn the compressor on and off (possibly at equal volume) to evaluate what you’re doing to the sound.
It’s easy to get fooled by more or less volume when dialing compression.

Compare Compressors
If you have different compressors, consider setting them equally and switch to hear the difference.
Parallel Compression
If you want to achieve surgical yet notable results, opt for parallel processing.
The cool thing about parallel processing is that you can crank the settings in absurd ways and only mix the parallel signal as much as it’s needed, allowing you to achieve dynamic manipulations that wouldn’t otherwise be possible when using the compressor as an insert on the original input signal.
You can squash one sound to get more room and tail, or you can isolate the transient to get a bit more punch/snap to the attack.
Even if not really the same, you can still get a taste of parallel compression by using the Dry/Wet knob.

Serial Compression
When you need to dial a given amount of compression to a sound, but a single time setting isn’t giving the result you want, then it’s time to apply smaller amounts of gain reduction one after the other.
This way, you can make inconsistent sound become consistent.
Think of each compressor as a helper of the compressor coming after it, allowing it to work on dynamic content that’s better controllable.
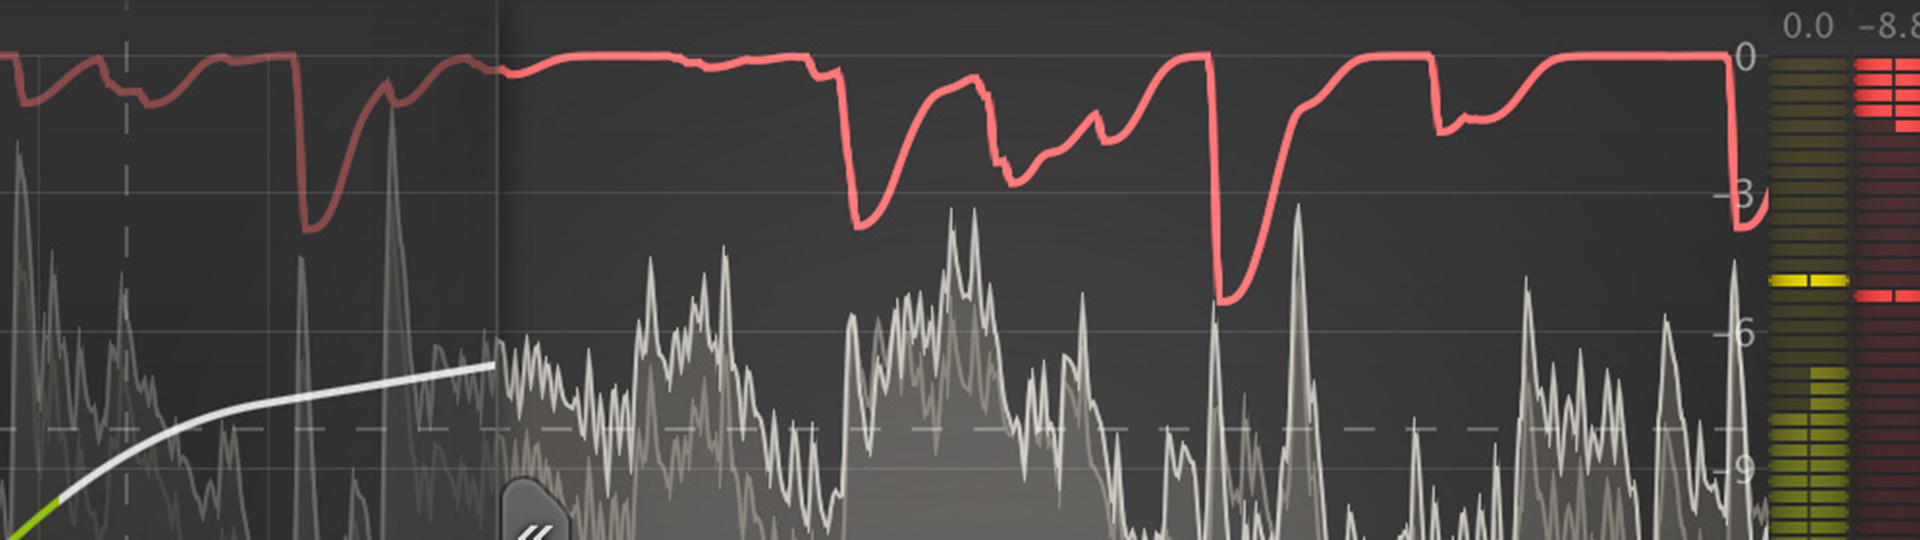
Sidechain Compression
A mix generally has one or more sounds fighting for the same space at the same time, and that’s where sidechain compression takes place.
The most common application is sidechaining the bass to the kick drum so it ducks in volume every time the kick hits.
This way, you don’t have sounds colliding and interfering with each other, making it possible to get the best from the two.
Sidechain compression makes sense when you have a sound that’s shorter than another one and it can sneak in for a while and leave some room again as soon as it has finished.
Another common application is sidechaining the melodic section to the vocal, so the vocal can shine and sound upfront while the rest of the instruments are sitting back a bit.

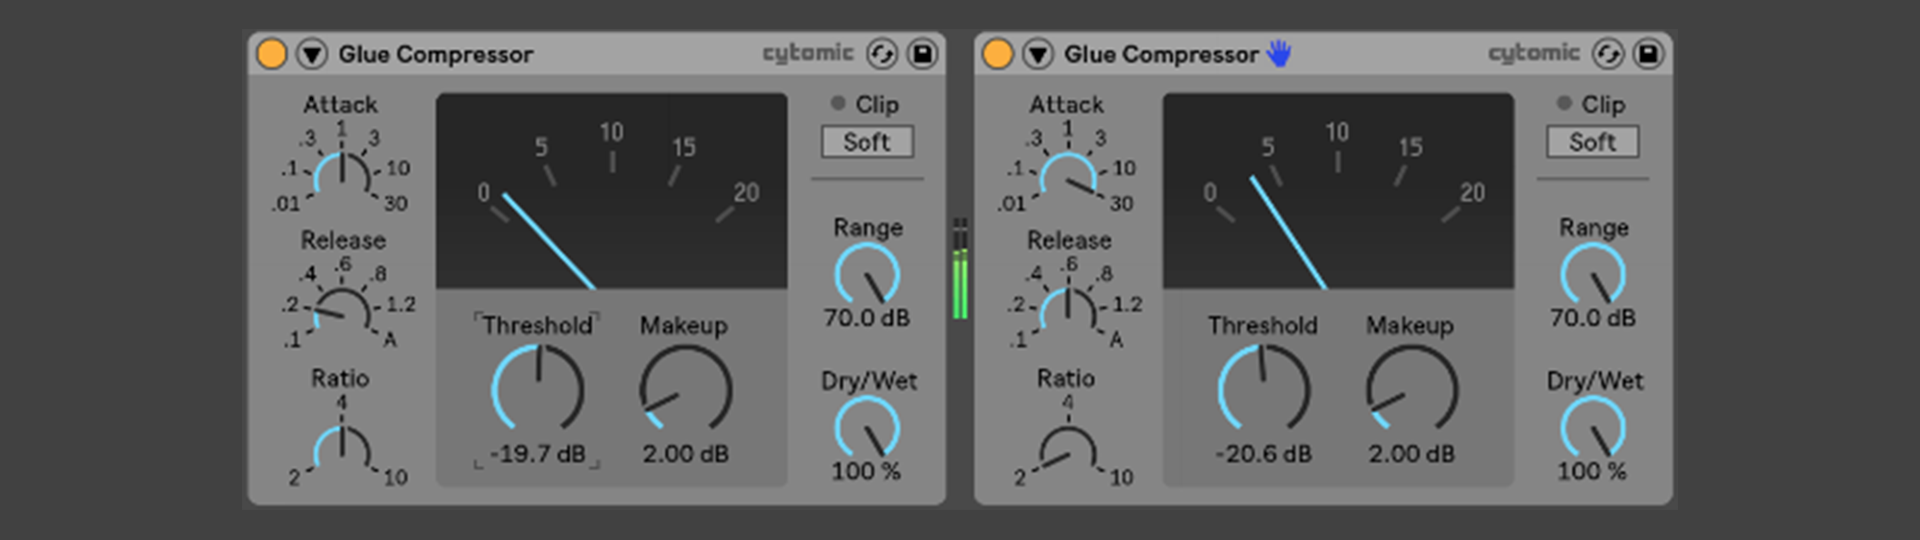
M/S & L/R Compression
Take any compressor, and it will be set up as a stereo compressor by default. This means that no matter if the Left or Right channel is peaking over the threshold, the same amount of gain reduction will be applied to both channels.
This compression mode can compromise the stereo image delivering results that aren’t as exciting as we expect them to be.
M/S and L/R are two functions that allow splitting the signal in the Mid and Side or the Left and Right signal and processing them more or less independently.

Beat Spot Mixing Tips
If you’ve found these tips helpful, then you’ll appreciate all the knowledge we’ve packed into Mixing Tips, our flagship PDF with a section dedicated to compression among a total of 13 chapters!