Table of Contents
In this article, I’m listing the 10 best tips about reverb that every producer/engineer should know, even producers that are not that much into mixing.
Knowing these pieces of info allows approaching reverb more knowingly.
What is reverb?
Reverb is the result of a sound occurring in a given space, sending sound waves out in all directions which will bounce against surfaces while progressively decaying until they die off.
We perceive this series of reflections, which happen on the scale of a few milliseconds, as a single and continuous sound.
Learn more about Reverb
If you want to learn more about how to control equalization (and much more), then you might be interested in our Methods and Basics products.
The 10 best reverb tips
Now let's go with the tips:
Less is (often) more
When we think about reverb, we have the idea of a huge and lush ambience, but the reality is that reverb manifests itself in a myriad of ways, and most of the time it isn’t even noticeable in the context of a finished product.
A couple of ways to use less reverb are lowering its volume and using short decay times.
Pre-Delay matters
Many beginners think that a few milliseconds won’t make any difference in setting a reverb, but the truth is that it actually does. Having reverb kicking in a bit later helps a lot with keeping the input source sound pristine and upfront. Too much of it and it becomes obvious delay. Generally, a good ballpark for it is between 10 to 40 milliseconds.

Parallel processing is crucial
Unless your goal is washing out the source, you always want to apply reverb in parallel.
Why? Because you don’t want to drown the input source into reverb most of the time because that means sacrificing it in the context of the whole mix.
A common mistake here is thinking that Dry/Wet is viable, but it’s not.
Always opt for any kind of setup that allows you to keep control over the Dry and Wet signals separately.

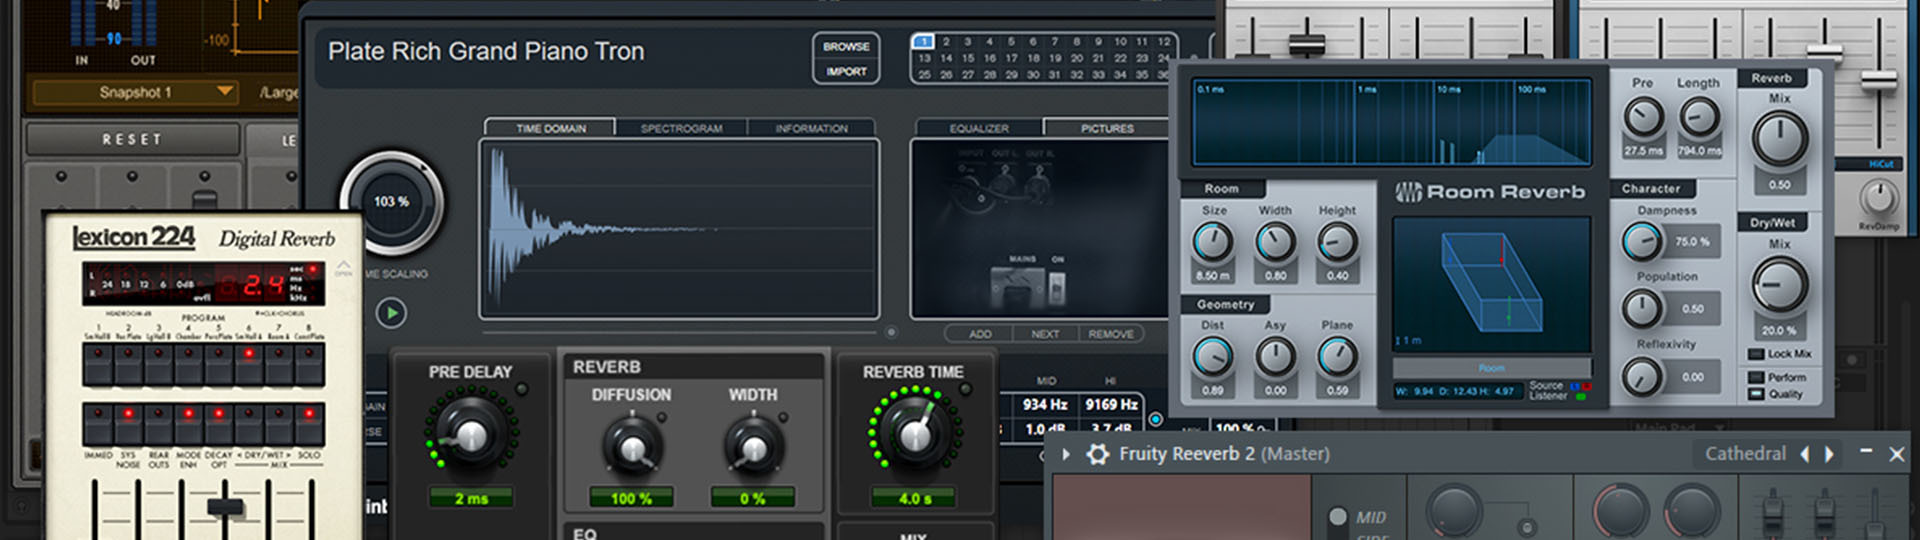
Choose the right reverb type
Sometimes, choosing the right reverb type is not really a big deal, especially when using very low volumes and short decay times, but sometimes it’s something you should care about because, no matter how hard you tweak it, it just won’t sound as good as you want it to.
Process the reverb
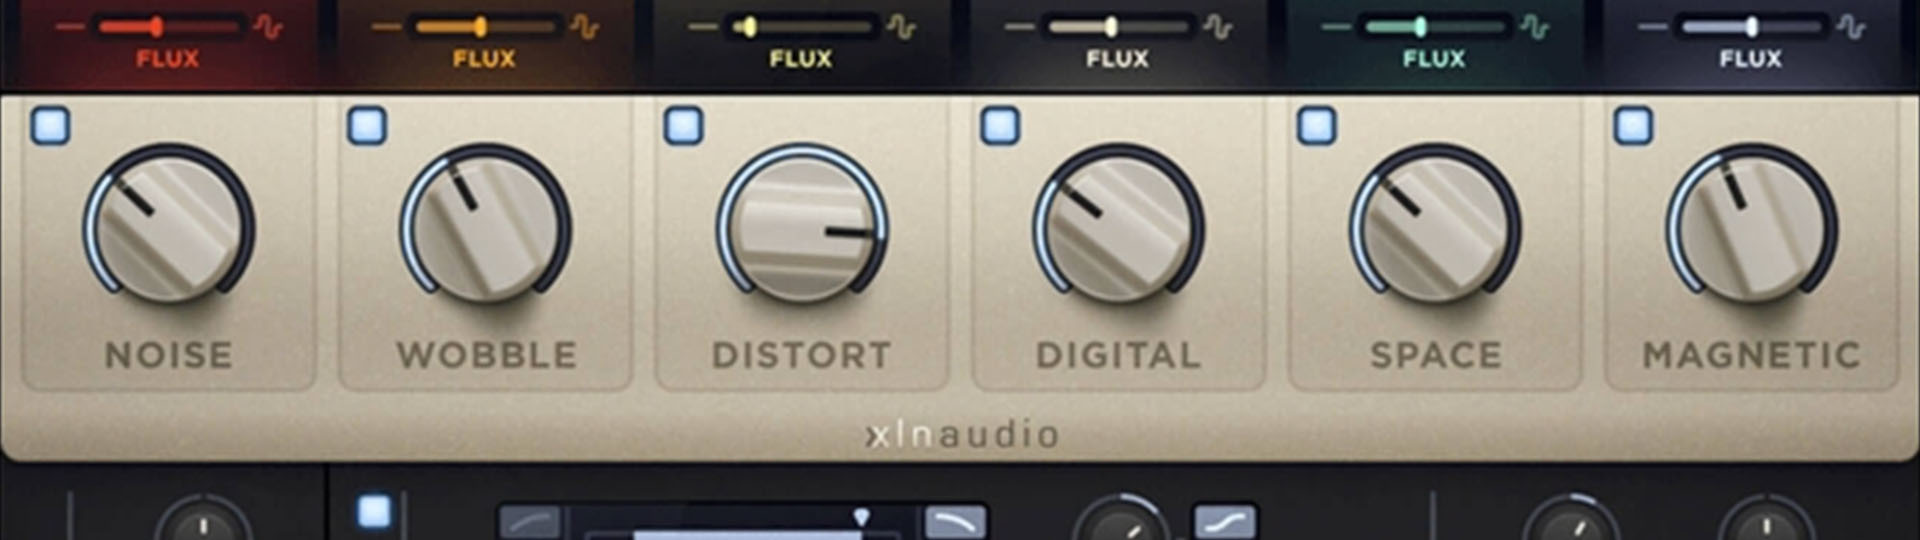
Reverb isn’t the end of the road when mixing a sound. Reverb should be considered as a layer of the sound you’re processing, which means it needs further processing as well.
Some of the most common types of processing are: EQ’ing, compression, chorus/flanger, stereo imaging.
Reverb everywhere
Everything in nature has reverb, unless you’re in the open space. So, that means we’re naturally used to everything having reverb.
When we’re listening to a commercial release, most elements sound ok to us, but they wouldn’t if we had the chance to turn off reverb.
Especially if you work with samples, nailing reverb is necessary so you get each sound sharing the same space.
While in the majority of EDM there’s the mantra of “no reverb on kick and bass”, it’s still a rule you can break depending on the style.

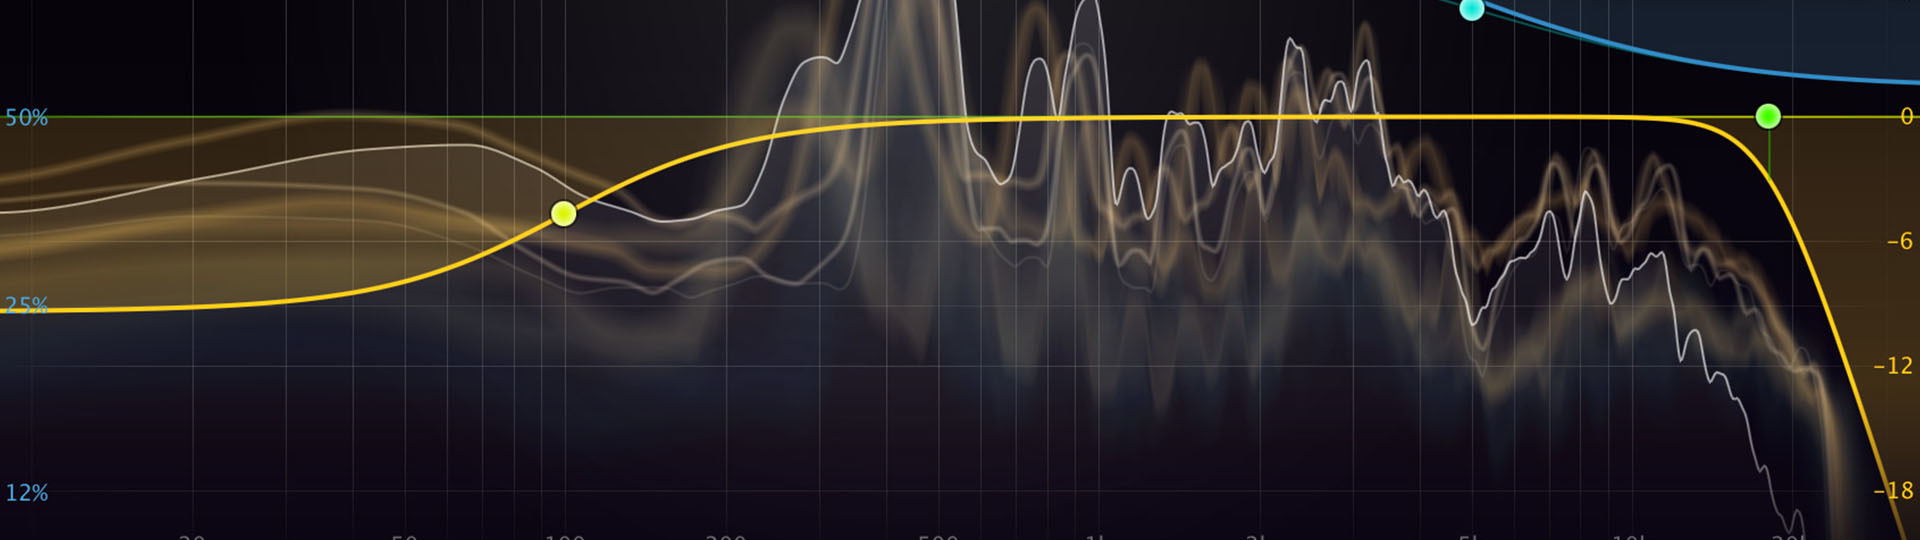
Frequency Decay
This is probably the most underrated feature on reverbs. Many producers throw reverb on the sounds they need and then proceed with EQ’ing it.
While EQ’ing is a good move, setting the frequency decay can make your EQ’ing experience way more accurate, because frequency decay sounds like EQ’ing at first, but it does something unique, which is shaping the decay envelope in ways an EQ can’t.
If you’re struggling with bright or muddy reverbs, consider touching the frequency decay and see if it nails it.

Use filters
Low end rumble and high end sizzle aren’t things we want in general, and those are also things that aren’t bring anything meaningful to most sounds when applying reverb.
Freeing up these ranges so other stuff can cut through them is a really effective move.
Most of the magic in reverb sits in the midrange.
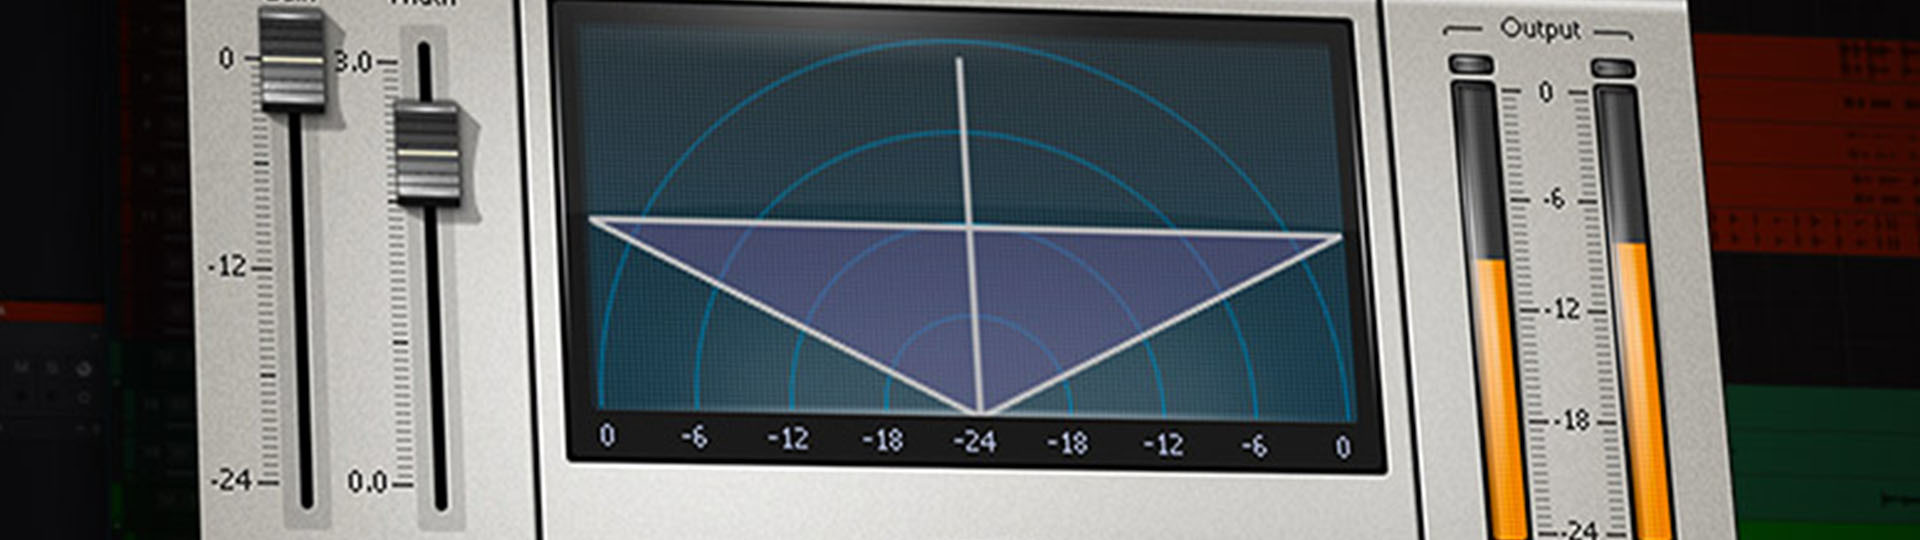
Width matters
Reverb generally comes as a wide stereo signal which makes it sound like wow right from the start. However, many busy mixes are being hurt by such wide reverbs, and a nice move to make is narrowing them down.
This can be done either in the reverb plugin or with a stereo imager placed afterwards.
Having a narrow reverb allows for better monocompatibility and better use of the stereo image, which leads to the next tip.
Pan It
Yeah, just pan the reverb so it doesn’t fall to the center of the stereo image.
The approaches are generally two:
- panning the reverb towards the input sound position.
- panning the reverb towards the opposite side of the input sound, mirroring it.

Beat Spot Mixing Tips
If you’ve found these tips helpful, then you’ll appreciate all the knowledge we’ve packed into Mixing Tips, our flagship PDF with a section dedicated to equalization among a total of 13 chapters!